Is Raspberry Pi Good For Gaming? (GPU Guide)
Games are very fun since they provide an outlet for me to explore and problem solve in a new world. . Consequently, it’s very addictive, so when I got into Raspberry Pi, I started wondering: “Can you play games on Raspberry Pi?”
Raspberry Pi can be used to play games such as Minecraft, retro games, Python-based games, and more. Raspberry Pi can’t be used to play games that demand a lot of performance from the device. Moreover, Raspberry Pi does not have high-end graphics performance, so you shouldn’t expect heavy gameplay out of it.
For the rest of the article, I’ll explain why Raspberry Pi’s graphical processing unit (GPU) can’t handle intense gameplay and how you can install RetroPie on your Raspberry Pi! But first, to make sure we’re on the same page, let’s define:
What Is A GPU?
A GPU is designed to handle the things you see on the display, such as images and videos. It deals with intensive graphical processes, which means that if you have a powerful GPU, the image resolution would be high and the videos would run buttery smooth.
Does Raspberry Pi Have GPU?
Raspberry Pi does come with a GPU built into its system. Each new generation comes with a better GPU, which means the latest Raspberry Pi (4 Model B) has the highest performing GPU.
More specifically, the Raspberry Pi 4 Model B utilizes the VideoCore VI. According to this site, when the Raspberry Pi 4 is run at its default resolution, it has 188 fps (frames per second). This is 34% faster than the Raspberry Pi 3, which has a fps of 140.
Where Is Raspberry Pi’s GPU Located?
The Raspberry Pi’s GPU is located inside the Broadcom BCM2835 system-on-a-chip (SoC). In addition to the GPU, the SoC also holds the 32-bit ARM1176JZFS processor.
How To Install RetroPie On Raspberry Pi
RetroPie is where you can play retro games to relive that 1980’s nostalgia. Games you could play include (but are not limited to) Donkey Kong, Street Fighter, and Pacman.
Here is the simple process of installing RetroPie on your Raspberry Pi:
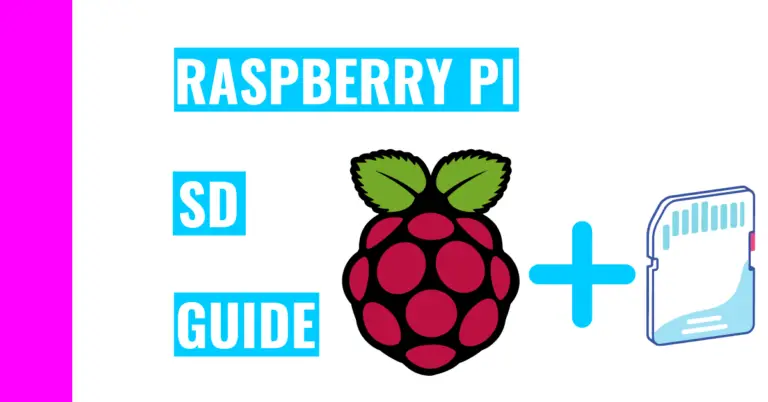
1. Insert SD Card Into Computer
This step is as simple as finding an SD card slot in your computer and inserting your SD card into it.
However, this will be more problematic for computer users if they have a computer without an SD card slot built-in. This was my case when I first started, and I realized I needed to purchase an extra accessory to be able to connect the SD card to my computer. That accessory is a USB SD card reader, and it cost me around $17.
There are some computer users that don’t even have USB ports to insert their USB SD card reader into (like Macbook Pro users), so you might need to purchase a dongle to connect the USB reader.
2. Download Raspberry Pi Imager
After you’ve successfully connected your SD card to your computer to be written, you’ll need to download the appropriate software for the writing process: the Raspberry Pi Imager.
To install it, you’ll need to go to www.raspberrypi.com/software/. Then you should choose the appropriate download option according to your computer’s operating system (ie Windows or macOS).

The installation process should take only a few minutes and you should see a Raspberry Pi icon when the installation is finished.
3. Copy Image Files To SD Card Using Raspberry Pi Imager
To do this, you need to first open up the Raspberry Pi Imager by clicking on the Raspberry Pi icon. You should see a screen that lets you choose the operating system, the storage method, and a button for writing the file to your SD card.
First, click on the leftmost button and choose the Emulation and game OS option. This should be the fifth option down.

After that, click on RetroPie.

You should see another list of options. Here, you should pick the one that matches your Raspberry Pi model. For instance, I am using the Raspberry Pi 4 Model B, so I’ll pick the last option:

Then, click on the middle button to choose the storage.
Note: you should have your SD card connected since you will only have one option to write the files to. Otherwise, if you don’t have the SD card inserted, nothing will appear for you to click on.

For me, my storage was named NORELSYS 1081CS0 USB Device – 31.9 GB
Now, click on the WRITE button (which is on the rightmost side of the screen) and wait for the program to finish running.
For me, it took about 20 minutes to finish writing the RetroPie to my SD card
If all goes well, you will get a message that grants you permission to remove the SD card.
4. Insert SD Card Into Raspberry Pi
The SD card is located on the bottom of your Raspberry Pi. Insert your SD card, and it should slide in smoothly if it’s facing the right way. Plug in your Raspberry Pi and you can now start setting it up!
Summary – tl;dr (Too Long; Didn’t Read)
Here are the key takeaway points after reading this article:
- You can’t play intensive games on Raspberry Pi, but you can play games like Minecraft, Python-based games, and retro games
- This is because Raspberry Pi’s GPU can handle high resolution that intensive games demand (among other performance issues)
- The GPU is what handles the quality of the images and videos you see on your display
- The GPU of the Raspberry Pi is located in the SoC chip
- You can install RetroPie on your Raspberry Pi in 4 easy steps:
- Insert SD card into computer
- Download Raspberry Pi Imager
- Copy image files to SD card using Raspberry Pi Imager
- Insert SD card into Raspberry Pi
In the end, I hope you are game to try out these suggestions!