How To Change Desktop Environment And Operating System
Raspberry Pi can be used for many different purposes and projects. This versatility is what I find to be the most appealing aspect of working with this device. However, you’ll have to change the operating system for specific projects like 3D printing controllers. Consequently, you may be wondering: “How do you change the Raspberry Pi’s operating system?”
To change the Raspberry Pi’s operating system, you’ll need to follow 4 easy steps:
- Insert your SD card into your computer
- Download the Raspberry Pi Imager
- Use the Imager to write files of the desired operating system to your SD card
- Insert the SD card into your Raspberry Pi
If this seems a little confusing, fear not! I will dissect each step in this article. Moreover, I’ll show you how to change your desktop environment if you want to spice up the user experience or personalize it to your own taste.
How To Change Operating System On Raspberry Pi
Here is the simple process of changing the operating system for your Raspberry Pi:
1. Insert SD Card Into Computer
This step is as simple as finding an SD card slot in your computer and inserting your SD card into it.
However, this will be more problematic for computer users if they have a computer without an SD card slot built-in. This was my case when I first started, and I realized I needed to purchase an extra accessory to be able to connect the SD card to my computer. That accessory is a USB SD card reader, and it cost me around $17.
There are some computer users that don’t even have USB ports to insert their USB SD card reader into (like Macbook Pro users), so you might need to purchase a dongle to connect the USB reader.
2. Download Raspberry Pi Imager
After you’ve successfully connected your SD card to your computer to be written, you’ll need to download the appropriate software for the writing process: the Raspberry Pi Imager.
To install it, you’ll need to go to www.raspberrypi.com/software/. Then you should choose the appropriate download option according to your computer’s operating system (ie Windows or macOS).

The installation process should take only a few minutes, and you should see a Raspberry Pi icon when the installation is finished.
3. Copy Image Files To SD Card Using Raspberry Pi Imager
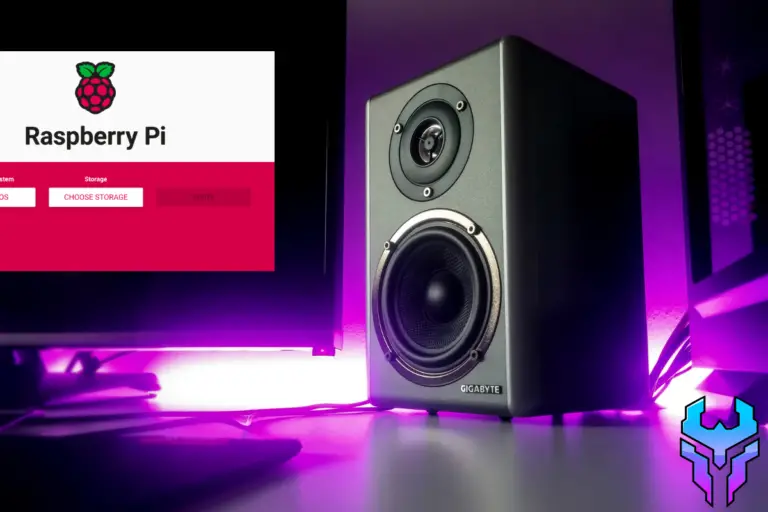
To do this, you need to first open up the Raspberry Pi Imager by clicking on the Raspberry Pi icon. You should see a screen that lets you choose the operating system, the storage method, and a button for writing the file to your SD card.
First, click on the leftmost button and choose the operating system you want.

As you can see there are so many operating systems to choose from. For instance, if you want to play games, you can install the RetroPie OS from “Emulation and game OS”. On the other hand, if you want to use the Raspberry Pi as a 3D printer controller, then you can install OctoPi from “Other specific purpose OS”.
After that, you should click on the middle button to choose the storage.
Note: you should have your SD card connected since you will only have one option to write the files to. Otherwise, if you don’t have the SD card inserted, nothing will appear for you to click on.

For me, my storage was named NORELSYS 1081CS0 USB Device – 31.9 GB
Now, click on the WRITE button (which is on the rightmost side of the screen) and wait for the program to finish running.
In general, it should take you anywhere between 15 to 20 minutes for the operating system to finish installing.
If all goes well, you will get a message that grants you permission to remove the SD card.
4. Insert SD Card Into Raspberry Pi
The SD card is located on the bottom of your Raspberry Pi. The SD card should slide in easily, and now you’re ready to go. Plug in your Raspberry Pi and you can now start using it and setting it up!
How To Change Desktop Environment On Raspberry Pi
If you’re like me, then you’ve probably grown bored of the default desktop environment. I love personalization and a change of scenery, so here is the process I’d use to change the desktop environment:
1. Choose A Desktop Environment
There are so many environments to choose from such as Mate, Gnome, KDE, etc. Consequently, you should look up pictures of these environments before deciding on the one you want.
2. Update Your System
Type in the following command in your terminal to make sure that only the latest version is installed:
sudo apt update3. Install The Desktop Environment You Want
You can pick different desktop environments by using the following command:
sudo taskselYou should see a screen like this after you enter it.

Note that you can only move around using your arrow keys. Once you’ve selected the environment, hit the spacebar. An asterisk should appear next to it. Now, you can hit enter.
You should see something like this:

This should take you about 20 to 25 minutes for the installation to complete. If you are encountering an error, then you should change the memory allocation for the GPU (Graphics Processing Unit).
To do this follow the 3 steps:
- Type the following command in your terminal:
sudo raspi-config- Click on Advanced Options
- Click on Memory Split
- Enter the amount of memory you want to dedicate to the GPU (typically you should input 256 MB)
If you don’t find what you’re looking for in tasksel, you can always download a package from the Internet.
If you want to learn how to install files from the Internet, then you need to check out my guide on installing deb files in Raspberry Pi.
Now, to implement the desktop environment, you’ll need to perform the following steps:
- Open the terminal
- Type in the following command
sudo update-alternatives --config x-session-manager- Identify the number next to the desktop environment you want to implement

For instance, I would type 6 since I want to implement XFCE
4. Reboot
If you want to see this environment, you’ll have to restart the system. The best way to do this is by typing the following command in the terminal:
sudo rebootFor me, I’ll see this when my computer boots up again:

Summary – tl;dr (Too Long; Didn’t Read)
Here are the key take away points you should keep in mind after reading this article:
- You can change your OS by following these 4 easy steps:
- Insert SD card into computer
- Download Raspberry Pi Imager
- Copy image files to SD card using Raspberry Pi Imager
- Insert SD card into Raspberry Pi
- You can change your desktop environment by following these 4 easy steps:
- Choose a desktop environment
- Update your system
- Install the desktop environment you want
- Reboot
In the end, I hope you’ll try these tips out and not give them the boot!