How To Remove Black Border Around Raspberry Pi Display (Top 3 Ways)
I’m a perfectionist: I focus too much on the details, which can be good if I’m trying to do high-quality work. On the other hand, that also means I get bothered by the small details. For instance, when I started working with Raspberry Pi, I noticed the black borders on the top and bottom of my screen.
Consequently, I started wondering: “How do I get rid of the black border around the Raspberry Pi display?”
You can easily get rid of the black borders by changing the screen resolution. You can do this by editing the Screen Configuration on your Raspberry Pi’s GUI, configure the config.txt file in your terminal, or make changes with Raspberry Pi Configuration. All these methods require a little trial and error since you probably don’t know the exact numbers to minimize your black borders.
If you still are confused, don’t worry. I will break down each method for the rest of the article. Moreover, I’ll include pictures to guide you!
How To Make Raspberry Pi Screen Fit
There are 3 ways you can reduce the black borders on your display:
1. Using Desktop GUI
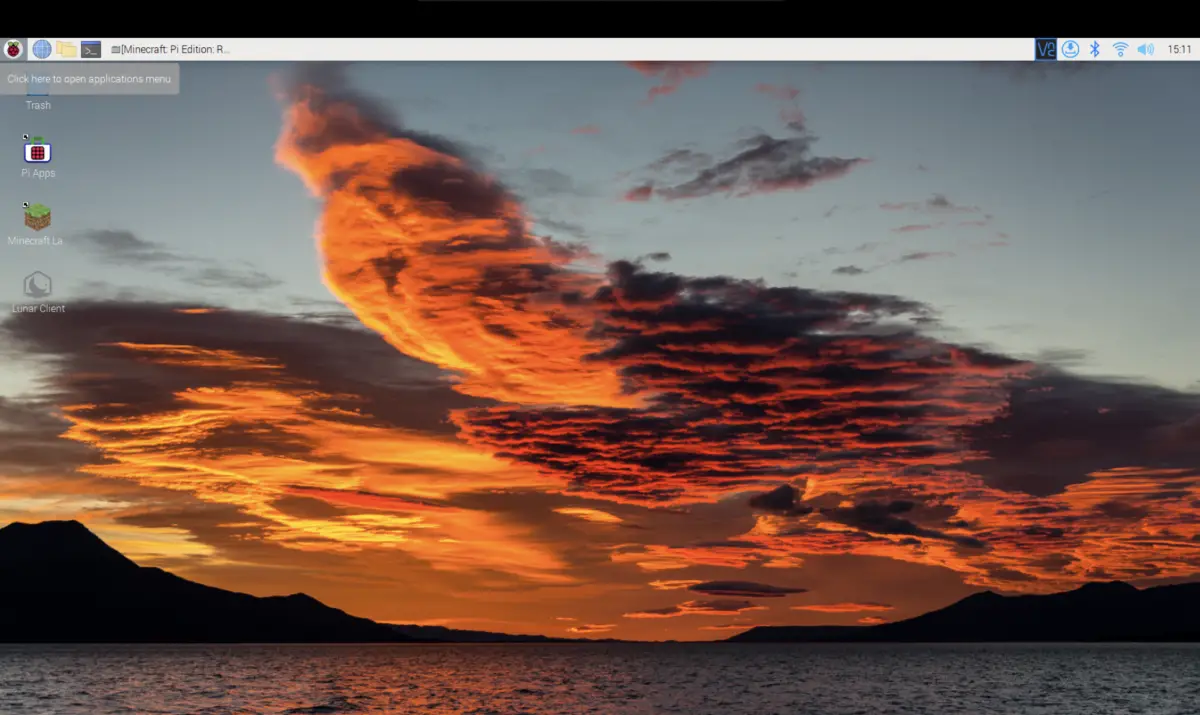
What I mean by Desktop GUI (Graphical User Interface) is the screen you’d see when you first log into your Raspberry Pi. For instance, you’ll see your wallpaper, your applications on the side, and the taskbar at the top of the screen.
Here are the steps you’ll need to take to get rid of black borders:
- Open the applications menu
- You can do this by clicking on the Raspberry Pi logo icon on the top left corner of your screen.

- Click on “Preferences”
- Then, click on “Screen Configurations”
- Now, you should see a small popup window. You should click on the “Configure” tab
- After that, click on “Screens”
- You should now see two options: HDMI-1 and HDMI-2. Choose the one that you’re currently using (it should be the one that isn’t greyed out).
- Next, you’ll need to click on “Resolutions”, and you should see a bunch of options (ie 1280×720 or 720×576).
- Click on the screen resolution size that best fits your screen. If you don’t know what your screen resolution size is, then I’d recommend going through each option and checking which one looks the best and minimizes the most black border.
- After that, you will see another pop window that starts a 10 second timer. If you don’t press “OK” to confirm your decision for the screen resolution size, then all your changes would be reverted.
If this didn’t work for you, don’t fret. I have two more methods you can implement and they both require the use of a terminal:
2. Using The Terminal
Personally, I’d prefer working in the Terminal because it’s more straightforward, and it’s very flexible.
Here are two ways I’d recommend you handle the screen resolution size (just in case one doesn’t work for you):
Raspi-Config
- Open the terminal
- You can easily do this by using the keyboard shortcut CTRL + ALT + T
- Alternatively, you can click on the fourth icon from the top left corner of your screen. The icon should look like a blackboard with the symbols “>_”
- Open up Raspberry Pi Configurations by typing in the following command:
sudo raspi-config- Once you’re in, note that you can only navigate by using the arrow keys. With that in mind, scroll down to “6 Advanced Options”
- Next, you’ll need to scroll down to Resolution and hit enter
- Here, you should be able to see a group of choices. Pick one that best suits your screen size
- You can exit Raspberry Pi Configurations by pressing the esc key. Note that you’ll be prompted to reboot your Raspberry Pi to ensure that this feature is truly enabled.
- If you aren’t prompted with this, you should still manually reboot it. To do so, type this command:
sudo rebootConfiguration File
- Open the terminal
- You can easily do this by using the keyboard shortcut CTRL + ALT + T
- Alternatively, you can click on the fourth icon from the top left corner of your screen. The icon should look like a blackboard with the symbols “>_”
- Open the boot configuration file:
sudo nano /boot/config.txt- Look for the following lines:
#overscan_left=16

#overscan_right=16

#overscan_top=16

#overscan_bottom=16
(Note: the values may be different on your Raspberry Pi, but you should still be able to locate them within the first 15 lines of the config file)
- The hashes are comments, so you’ll need to remove them
- After that, start changing the values to start adjusting your screen
- To save your results and exit, use the keyboard shortcut CTRL + X
- To actually see your results, you’ll have to restart your Raspberry Pi again
This process can be tedious and requires a lot of trial and error. Hopefully, you’ll be able to narrow the numbers down after a few guesses.
If you’re having trouble opening up your config.txt, don’t worry. I’ll show you 5 different ways you can do so in my config.txt guide.
Summary – tl;dr (Too Long; Didn’t Read)
Here are some of the key takeaway points you should keep in mind after reading this article:
- You can easily remove (or at least minimize) the black borders around your display by changing the screen resolution size of your Raspberry Pi.
- You can do this either by using the terminal or the Desktop GUI
- Here’s the simplified process for using the Desktop GUI:
- Open applications menu
- Click on “Preferences”
- Click on “Screen Configurations”
- Click on “Configure” on the pop up window
- Click on “Screens”
- Pick either “HDMI-1” or “HDMI-2”
- Choose one of the preset screen resolution size choices
- Press “OK” and reboot your Raspberry Pi
- Here’s the simplified process for using the terminal
- Open the terminal
- Type the command: sudo raspi-config
- Click on “Advanced Option”
- Click on “Resolutions”
- Choose one of the preset resolution size
- Reboot your Raspberry Pi (either from the prompt or by typing in the command line: sudo reboot)
- Alternatively, you can just open up the config.txt file in your terminal to make changes: sudo nano /boot/config.txt
In the end, I hope this article displayed all the answers you’ll need to get rid of the black border.


