Can You Run Multiple Void Loops in Arduino?
When I was gaining experience with Arduino, I wanted to see if I could run two things at once simultaneously. To do that, I knew that I needed more than 1 void loop, but when I tried to put that to test, things didn’t go quite as planned.
Now, I know the answer to:
Can You Run Multiple Void Loops In Arduino?
You cannot run multiple void loops in the Arduino IDE because the programming involved with Arduino is single thread. This basically means that your Arduino can only run instructions one at a time in sequential order.
You can see this happen when you use the delay function. If you’ve ever used the delay function, you’ll notice that all the other things you’ve programmed your Arduino to do when the delay is happening won’t work. That’s because delay literally stops your Arduino from doing anything in the specified time.
This can be annoying, so experience Arduino users use the millis() function instead of delay() if they want to run something when some parts of the Arduino code are paused.
Anyways, if you do write and implement more than one void loops, you’ll notice that none of them will work simultaneously. As I’ve mentioned before, the Arduino will go through each line of instruction one by one because it is single thread.
If you had something that’s multithreaded, then it can run multiple loops like you wanted.
Still, there are other ways you can implement to make it look like your Arduino is running two things at the same time.
But first, let’s break down what a void loop() is.
What Is void loop()?
Many people, especially beginners, will use two main functions in the Arduino IDE: void setup() and void loop(). Let’s talk about the loop function first.
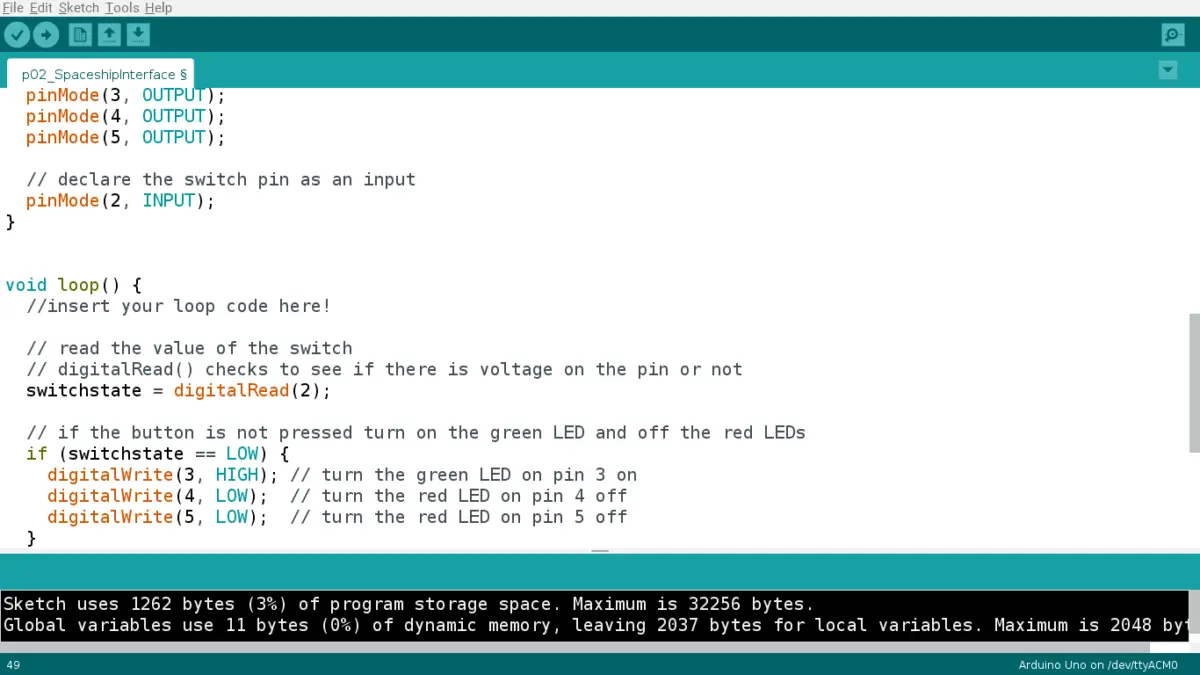
The void loop() function is where you code all the things you want to run repeatedly. It can also serve as a brain for making decisions (if you use conditional statements like if and else). What’s even more interesting is that you can put other loops inside the void loop, and it will still work (like while or for loops).
In essence, the loop function is the meat of your sketch since it runs your code quickly and repeatedly.
What Is void setup()?
The setup function basically sets up your Arduino and runs once. You would initialize things here so that you can use them later in the loop function.
If you still don’t fully understand these functions, then I’ll use an analogy. Pretend you’re a new restaurant employee, and I’m the manager. I have two manuals for you, one for opening the shop and the other one is for creating food.
The manual on opening the shop is the void setup() in this situation. You’d have to prepare the restaurant before you start working, just like how you’d prepare your Arduino before working on it.
Continuing with the shop example, you have to first unlock the door, turn on all the lights, turn on the open sign, etc. For the setup function, you’re initializing pins, assigning pins to different properties, etc.
The manual on preparing specific dishes (let’s say pizza in this instance) is the void loop().
When customers come in to place their orders, you need to whip out that manual to make the pizza of their choosing. Let’s say there’s a long line of customers wanting pepperoni pizza (yum!). You have to quickly churn out these pizzas, and you need to follow the recipe to make it correctly. That’s what the void loop does; it runs your code continuously and quickly.
If you want some more programming tips, consider checking out my programming guide for Arduino to help you maximize your experience and workflow.
What Do You Do Instead If You Can’t Run Multiple Void Loops?
If you are really desperate to run multiple loops, I’d recommend the following two methods:
- Use the Scheduler library
- Use the millis() function
Scheduler Library
The Scheduler library is great for letting multiple loops/functions run simultaneously and without interrupting each other. Sadly, it is only compatible with a few select Arduino boards like the Due, the Nano 33 IoT, or the Zero. That’s because the library needs boards with SAM or SAMD architecture, and the Arduino Uno R3 is sadly not one of them.
If you want to learn more about the Scheduler library or want to find out if your Arduino board is compatible, check out the resource here.
If you want to see a real-life example of it, go check out the Arduino company’s Multiple Blinks project.
Millis() function
Using the millis() function is probably the best way for all the Arduino boards. You can see other users using the millis() function over the delay function because it doesn’t stop all the Arduino code from running.
It’s like a silent partner in the background, so you can set a timer with your millis() function that will order a group of code to run when you want it to. Then, it will look like you’re making your Arduino do two (or more) things at once!
Summary – tl;dr (Too Long; Didn’t Read)
Here are the main points you should take away after reading this article:
- The void loop function is where you write most of your code since you want that to run repeatedly.
- The void setup function is where you initialize and set up everything so that you can prepare to run thoses things you’ve initialized in the loop function.
- Sadly, you cannot run multiple void loops at the same time in Arduino because it is single thread.
- Single thread basically means that you can only run one instruction at a time instead of multiple instructions in order.
- On the other hand, something with multithread allows you to run multiple things at once.
- The best way to counter this is to use a millis() function. If you know when to have your Arduino implement another task, you can set a timer for it to go off, which gives the illusion that your Arduino is running multiple things at once.
- The second way to run multiple loops is to use the Scheduler library. Sadly, it only works for a few Arduino boards.
Hopefully, understanding loops and coping with the Arduino’s inability to run multiple loops won’t make you loopy!