How To Know Which Arduino Library To Use: Best Library Guide
What comes to mind when you think of an Arduino library? For me, I initially thought of it as a literal library containing different books about Arduino and its inner workings. In actuality, an Arduino library is more like a collection of functions that gives you the ability to do a specific task.
That was a run-down explanation, so I’ll cover it more in detail in the next section. Moreover, I’ll be going over how to properly install and use a library. But first let’s answer the question: “How do you pick which Arduino library to use?”
When choosing a library, you need to keep in mind the following 7 factors: newness, age, occurence, documentation, usability, relevancy, and intelligibility. Without taking these aspects into consideration, your overall library experience may worsen.
To help you remember this, I will introduce an acronym, which is a mnemonic device that’s meant to help with your memory. An acronym is a word made up of the initial letters of other words. Because many of you are Arduino users, I want you to memorize the word ARDUINO, which stands for:
- A – Age
- R – Relevancy
- D – Documentation
- U – Usability
- I – Intelligibility
- N – Newness
- O – Occurence
Because this explanation is too brief, I will discuss the 7 factors in further detail below.
If you want to learn more about programming and the best way to write sketches, check out my programming guide. It’s also a great resource for those needing a refresher on basic programming concepts.
What Is An Arduino Library?
As I mentioned previously, a library for Arduino is a file that contains different functions that serve different purposes such as working with sensors or LCDs (liquid crystal displays).
However, these files didn’t come out of nowhere; bright individuals documented and packaged what they’ve learned into files. Now, any Arduino user can access them and use each other’s knowledge and experience.
These files are written in the programming languages C (which has files ending in .c) and C++ (which has files ending in .cpp).
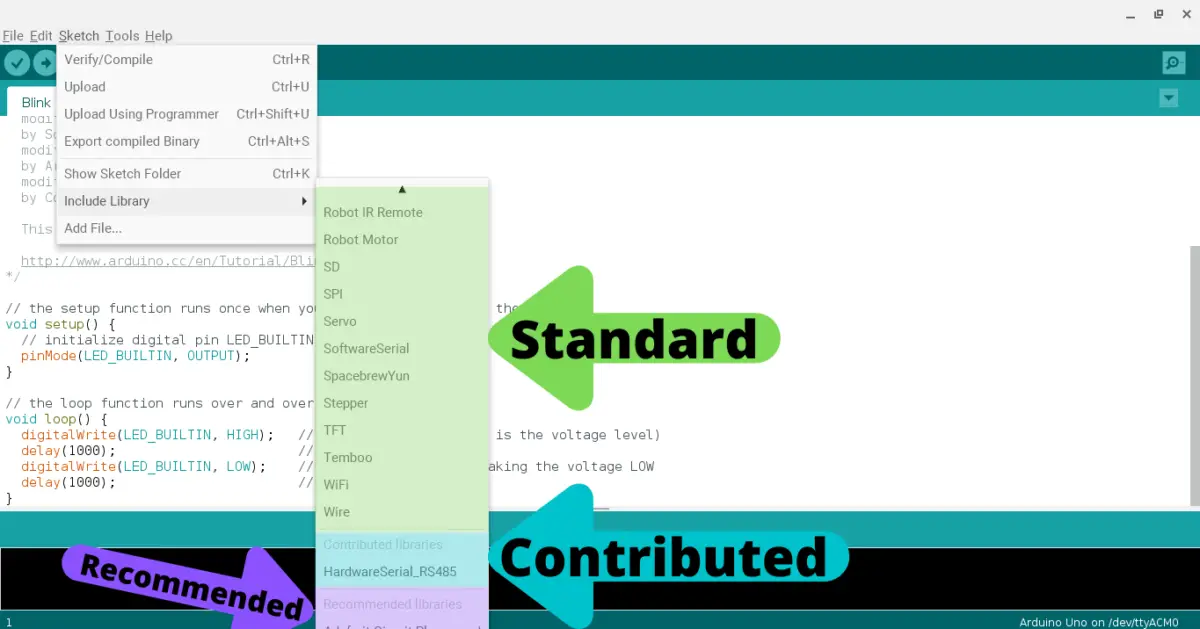
There are also three different types of libraries: standard, contributed, and recommended.
Standard libraries are the ones pre-installed on your IDE. This is the first group of libraries when you go to your Sketch menu in your IDE and click on “Include Library”.
Contributed libraries are the libraries that you have found and installed on your own accords. They are the second group of libraries.
The final group of libraries is called the recommended library. This is a type of contributed library, but they’re installed by the Arduino company itself. They’ve deemed these libraries to be trustworthy and reliable for users to use.
How To Choose The Right Arduino Library
Age
The first factor I’d want to consider is the age of the library. I tend to prefer older, well-established libraries because it has a greater chance of being frequently tested over its lifetime. As a result, if there are errors, users will catch it and make the changes accordingly.
On the other hand, libraries that are new to the scene could potentially contain more bugs, which diminishes the user’s experience.
To determine when the repository (or repo) was created, you need to go to find the library you’re interested in on Github. For those who don’t know, Github is a repository that can store your code and any updates you make to it. Developers use this to create repository and make changes to it.
To do this, just type in a search engine your library’s name and the word “github”.
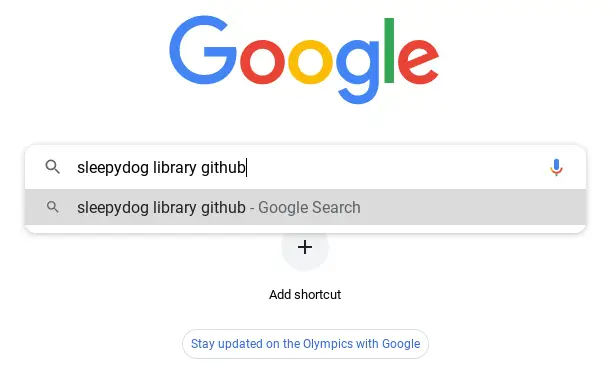
Then click on the github result, which should be the first link:
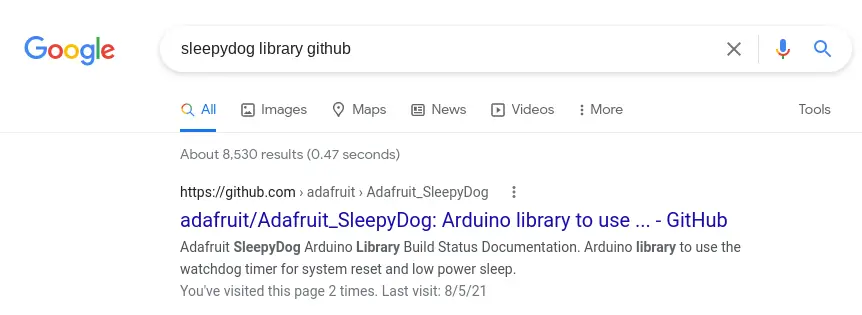
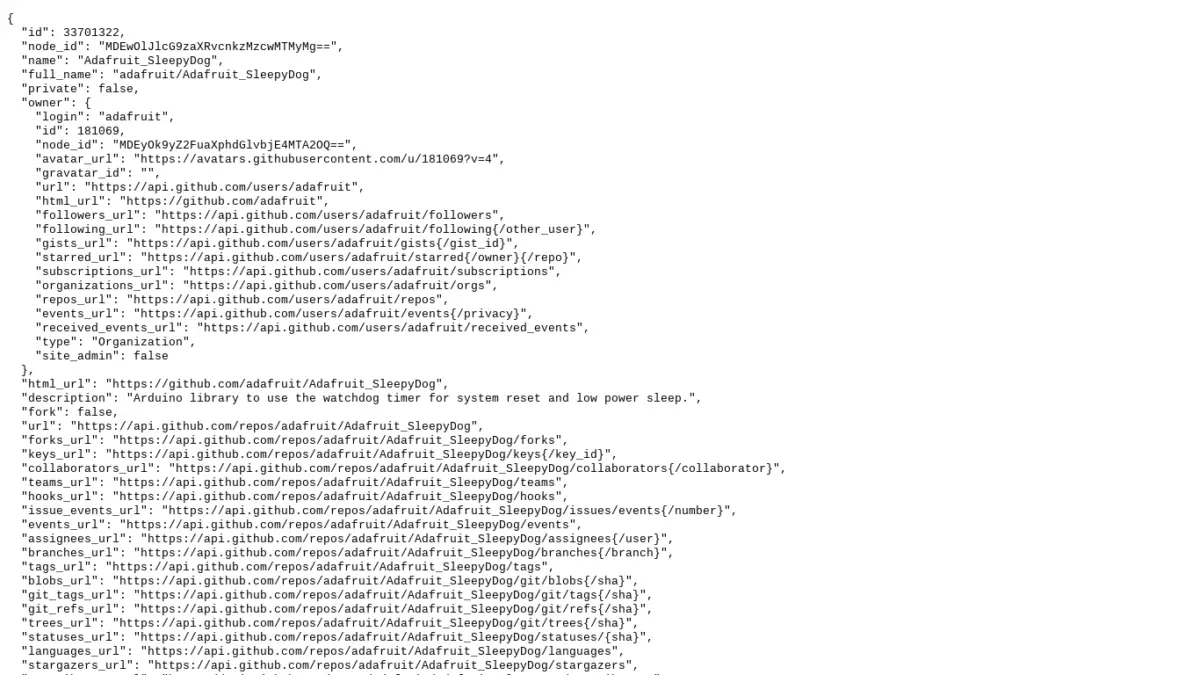
Once you’re on the page, change the “github.com” link in the web address to “api.github.com/repos“. Let’s use an example. My Sleepdog Github repository has this web address:

I need to change it to this:
api.github.com/repos/adafruit/Adafruit_SleepyDogYou should see something close to this:
There’s a lot of code going on here, and you don’t need to pay attention to it. All you need to do is press ctrl + F on your keyboard (command + F if you’re a Mac user), and type in “created_at”. Here’s my example:
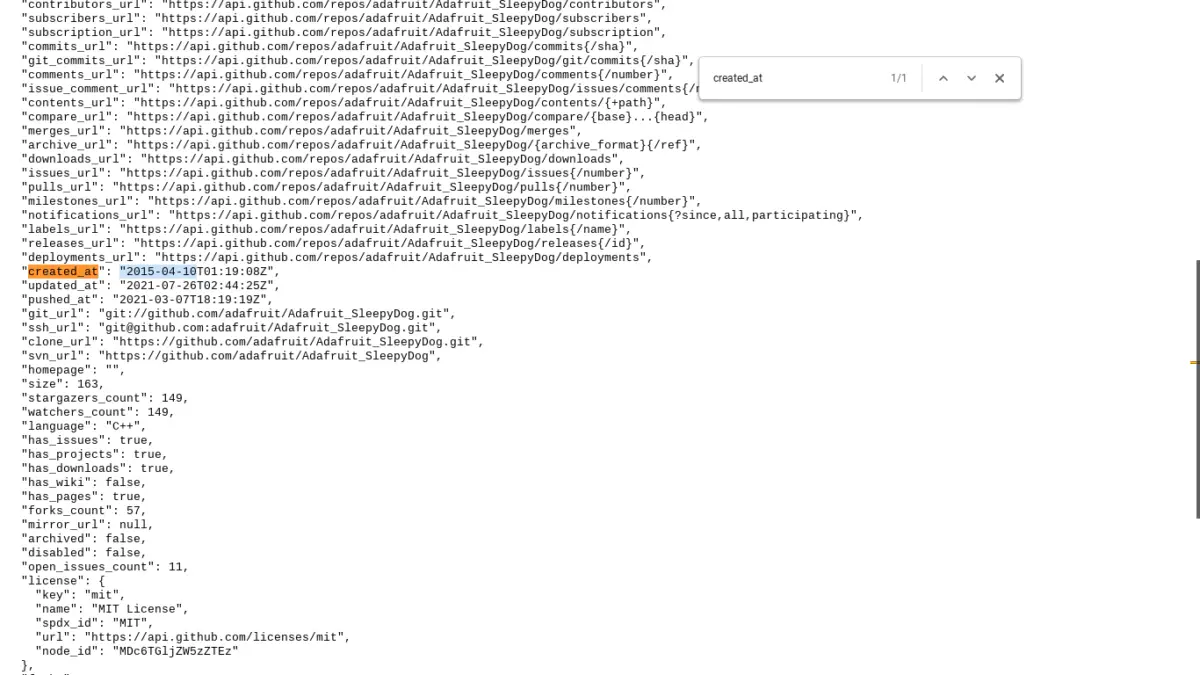
As you can see, this library’s repository was created on April 10, 2015 at 1:19. This is very specific and lets me know it’s about 6 years old (at the time of this writing).
Relevancy
Even though it may appear to be an obvious condition that needs to be met, the relevancy of a library is important in ensuring the success of your project. That’s because if you aren’t diligent in your research, you might work part way through your project with it and find out that the library doesn’t do all the things you initially assumed it would.
Consequently, you need to make sure the library is relevant to your project and what you need from it.
Documentation
The documentation for a library is essentially a document that discusses the functions used in the library in great detail, such as what it does, its parameters, etc.
Understandably, reading through the documentation can be dry and really boring. However, perusing it can save you time in the long run. This is because reading prepares your mind, which allows it to know what to expect. Sometimes, you may find some shortcut or hack when using these functions.
Of course, the location for the documentation for each library may be different, so you have to put in the work and search around on any search engine of your preference by typing the word “documentation” after the name of the library.
Usability
This feature is pretty self-explanatory (and it pairs with the documentation and intelligibility factors). As you’re researching your library, you should be aware of how easy the library is to use. You don’t want to use something that’s difficult to understand and hard to implement.
Consequently, you should see if the documentation is full of jargons or unclear, and if there is a lot of good examples for you to work with. If both the documentation and examples are bad, then pick a different library that does the same thing.
Intelligibility
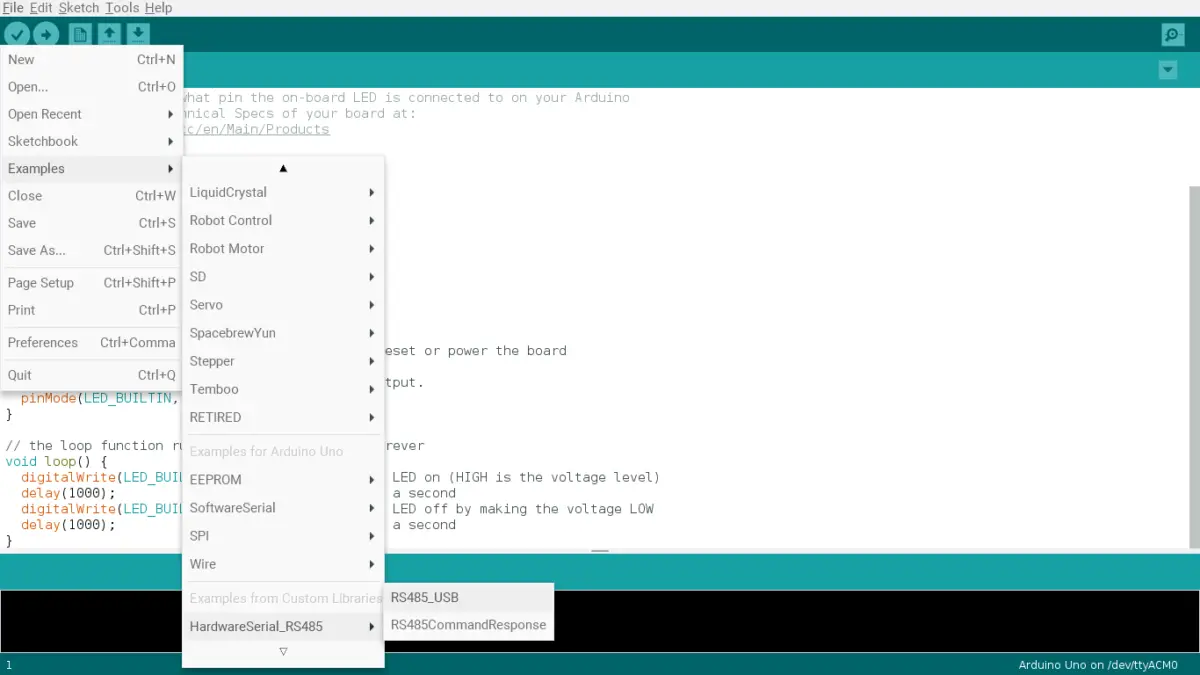
Integlligibility in this context means whether you can understand the library or not. Your understanding does depend on the documentation, but it also depends on the examples included. The examples can give you real life scenarios of when you would actually use the functions included in the library. In the following, I will go over two different ways to see the examples:
The first way is to install the library and take a peek at the examples in the Arduino IDE. This method is easier to use compared to the second way if you already have it installed.
- Go to the File menu at the top
- Click “Examples”
- Find your library and click on it
- Now, you should see examples that you can click on
- Doing so will open a new tab
- You can experiment with the code and run it
See the following example for guidance:
The second method is by directly going to Github. You should find the folder called “example”. Click on it, and you can choose the examples. If you want to run it, you have to copy and paste the code into your IDE. See the following image for more explanation:

Newness
This factor basically means how current (or how “new”) the Arduino library is. The questions involved may include:
- When was it last updated?
- How active is the library?
These two questions are very helpful in making your decision because it shows that there are people constantly trying to improve upon it and making it more relevant for users today.
Developers create and improve upon libraries, and most of their work can be found on Github.
You can easily find the Github repository of your library by typing in the library name and the word “github”.
Let’s use an example:
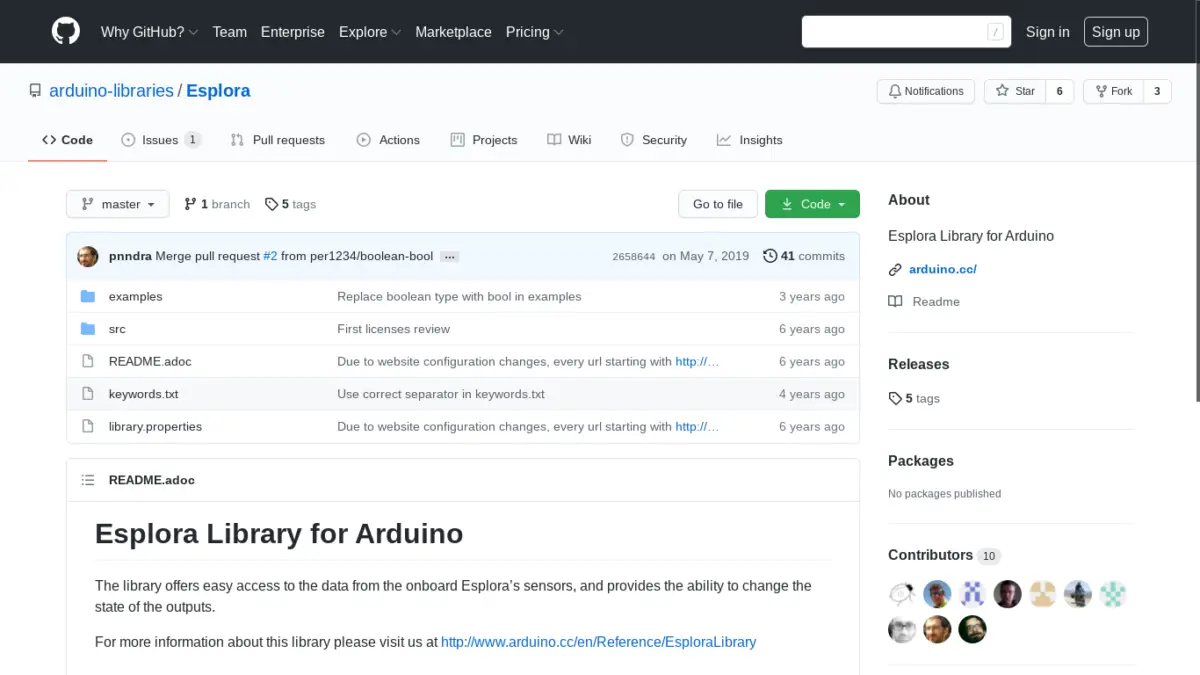
In this first image, you can see it’s about the Esplora library. You can see it was last accessed on May 7, 2019, but the most recent changes were 3 years ago. This is obviously not kept up to date. A potential reason for why the library is no up to date may be because there aren’t any errors to fix, and it’s already perfect.
However, there is not concrete explanation for the lack of activity, so if I see a different library that serves the same purpose as the Esplora library and it’s current, I would definitely pick the current one over the older one.
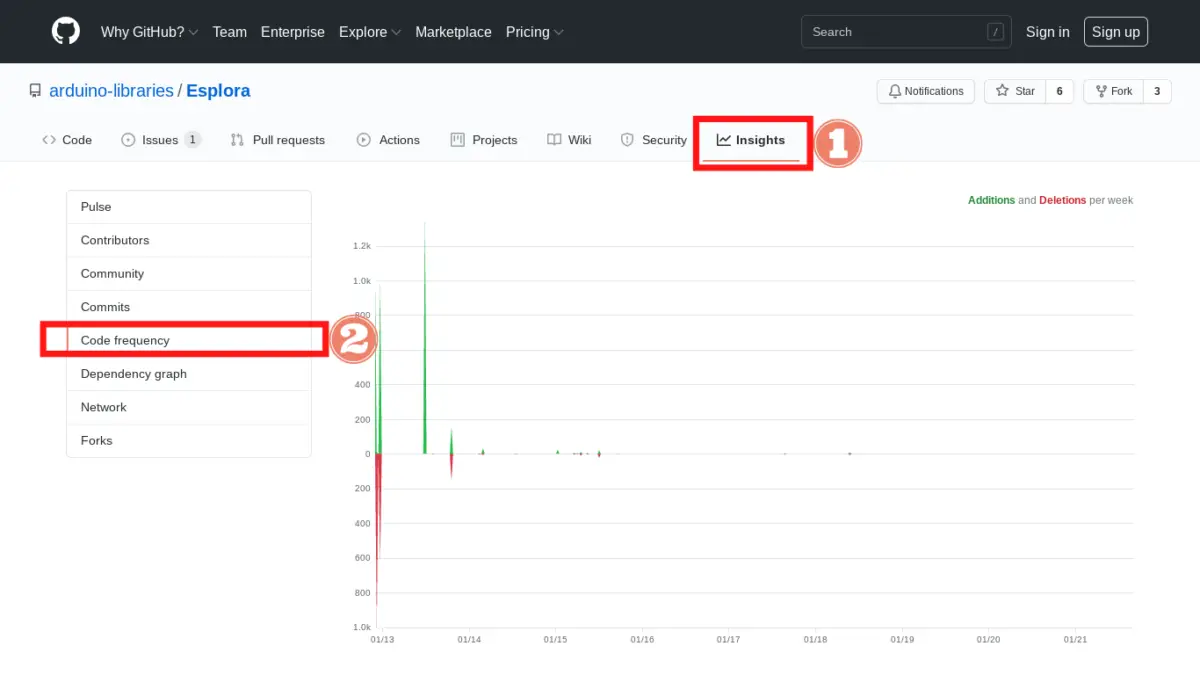
You can also get a little more information by clicking on the “Insights” tab near the top of the screen. Then, click on the “Code frequency” tab on the left hand side to see how often code is being added and deleted.
Occurrence
Another component is how often the library is being used. You should be considering is how popular it is and what other people are saying about it.
You can see how many people are using it by looking at its Github repo page and looking at the top right. You should be able to see how many people are starring and forking this repo.
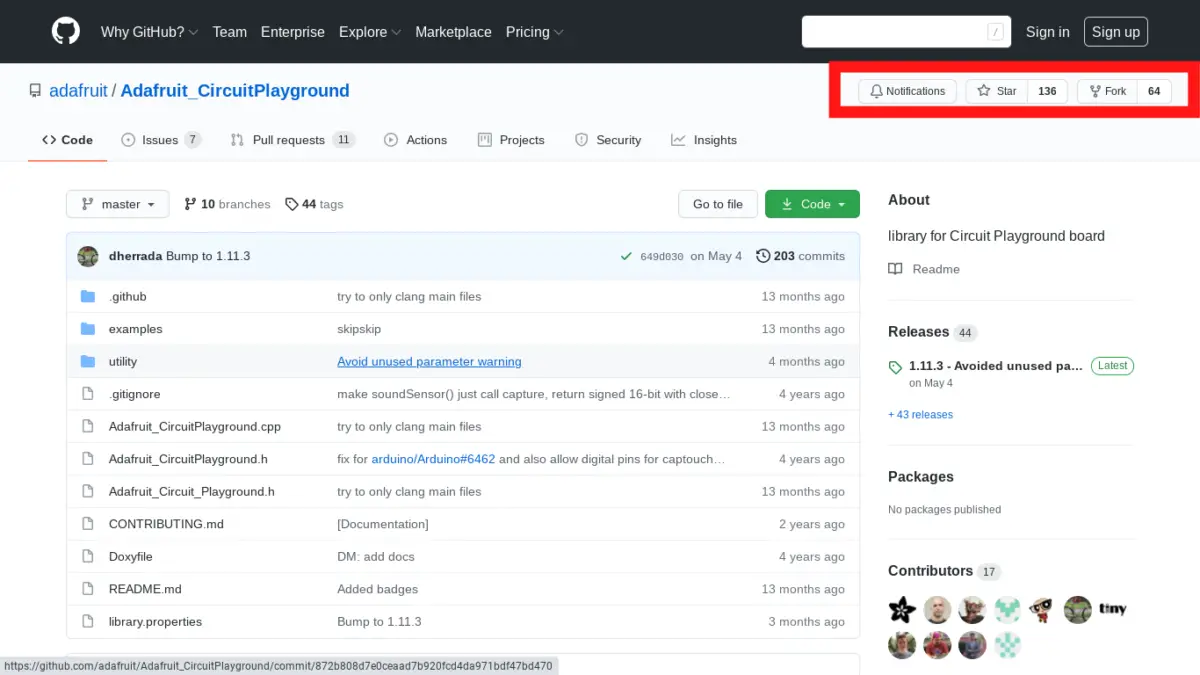
A fork in this context means that someone made a copy of this repository for their own use. Doing this makes sure it doesn’t disrupt the original.
A star in this context is basically the user saving or bookmarking this repo for later use.
You can also check the Arduino forum to see what other people are saying about the library. If there aren’t that many posts or activities surrounding the library or if there are frequent bad reviews, you might want to consider not using it.
How To Use An Arduino Library
To include and use an Arduino library, you need to first make sure the library is installed. It is important to have the library installed or else the next part won’t work. Moreover, you will receive an error message and lots of red text.
To check if you have it installed, go to the top of your IDE (Integrated Development Environment) and click on “Sketch”. After that, select “Include Library” and scroll down to see if you have your library or not.
Then, (in the first line of your Arduino IDE), type “#include”. Next, type “< ‘insert the name of the library you’re using’.h >”.
Here is an example of when I’m using the Adafruit SleepDog library:
#include <Adafruit_SleepyDog.h> // <-- This is what you type in first

// You don't need to pay attention to the rest of this code

void setup() {
      // Make sure to reset the watchdog before the countdown expires or
      // the Arduino will reset!
      int countdownMS = Watchdog.enable(4000);

//insert your project's setup code here
}
void loop(){
    // insert your project's loop code here
}
How To Add An Arduino Library
Adding an Arduino library isn’t too difficult. It should take around 2 to 5 minutes for you to perform. Here are the following steps to installing the library:
- Go to the “Manage Library” tab by clicking on Sketch > Include Library > Manage Libraries
- Note: You can use the shortcut: control + shift + I to be more efficient.
- If you’re a Mac user, use the shortcut: command + shift + I.
- Note: You can use the shortcut: control + shift + I to be more efficient.
- Search for your preferred library in the searchbar.
- Click on the “Install” button.
- After a few minutes, you should see it installed.
- Finally, use the library by declaring it in your code at the top (see the previous section if you need a refresher).
To make this easier for you to understand, I will be going over a real example by trying to install the SleepyDog library:
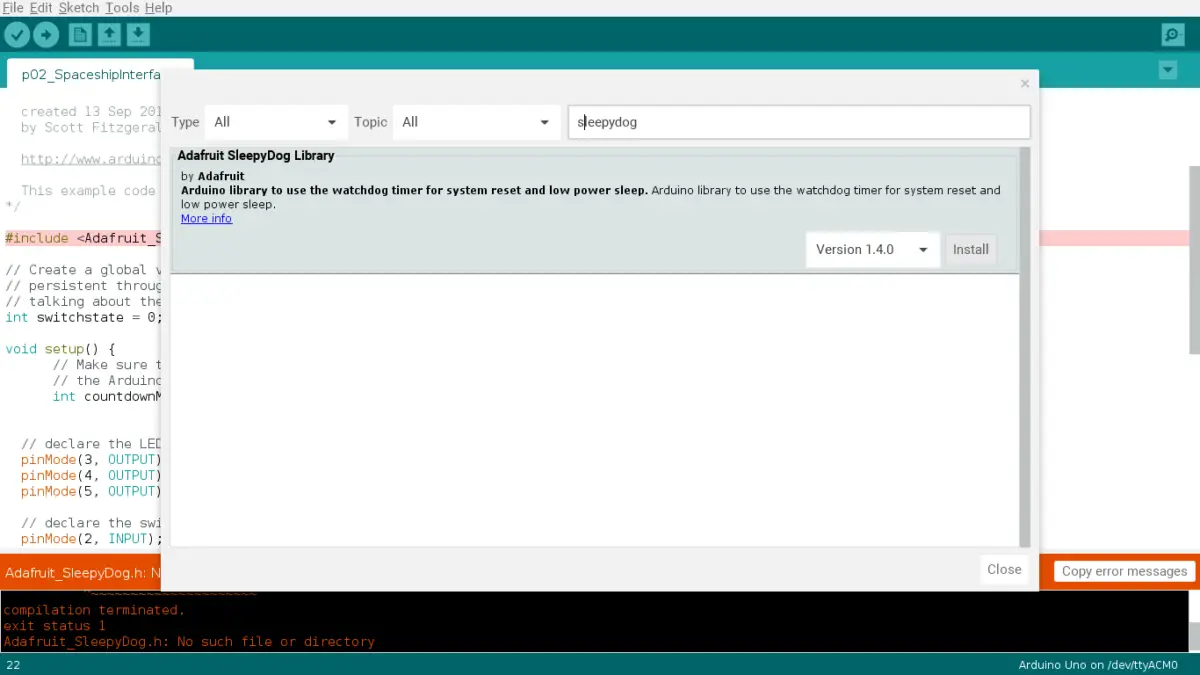
1. Go to “Manage Libraries”

Next, search for the library by typing in ‘sleepydog’ in the search and clicking “Install”.
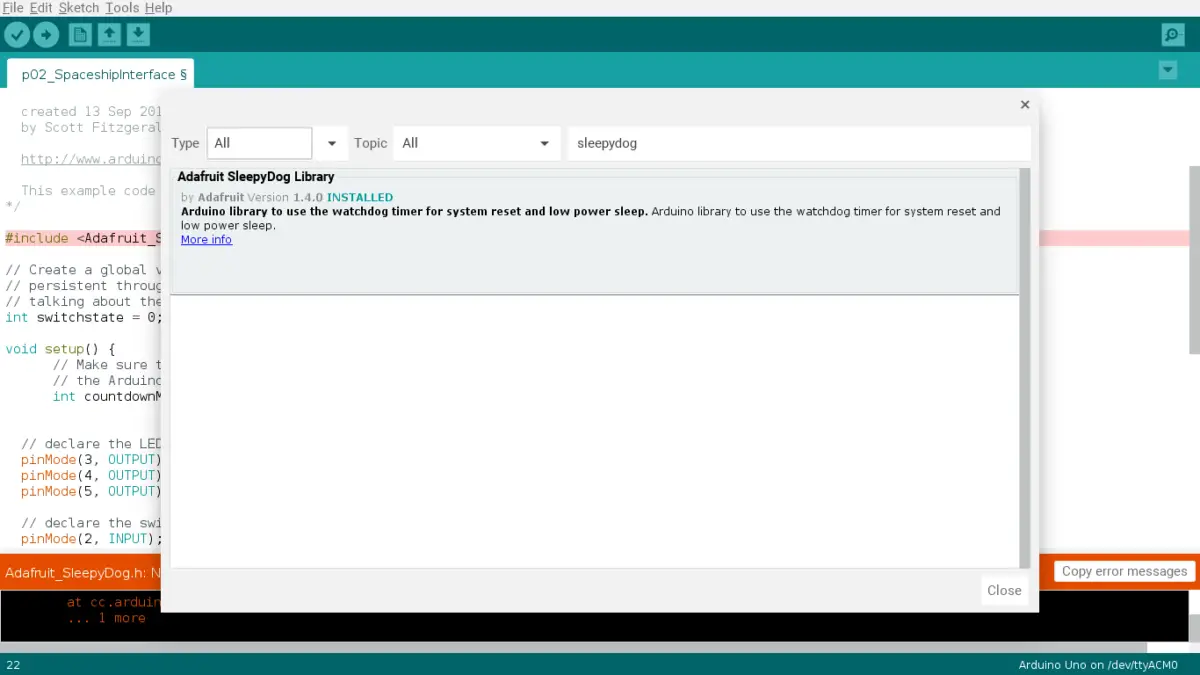
Afterward, you should see the “Installed” message, and now you can use SleepyDog:
Summary – tl;dr (Too Long; Didn’t Read)
Here are the key takeaway points you should keep in mind after reading this article:
- An Arduino library is a collection of code that serves a common purpose
- Use the mnemonic device ARDUINO to find the perfect library:
- A – Age
- R – Relevancy
- D – Documentation
- U – Usability
- I – Intelligibility
- N – Newness
- O – Occurence
- If you want to add a library to your Arduino, perform the following steps:
- Go to the “Manage Library”
- Search for your preferred library in the searchbar.
- Click on the “Install” button.
- Use the library by declaring it in your code at the top
- To use your installed library, you’ll need to use the following code:
#include <insert name of the library here with .h at the end>In the end, I hope you’ll check out these tips and put them into action!
If you want to learn more about the Arduino library, check out my second Arduino library guide as there are more tips. For instance, it dives deeper into the potential problems (and solutions) you may encounter when working with the library.