How Do Arduino Buttons Work? Here’s What You Should Know!
Buttons are everywhere around us! I’m not talking about the small, circular disc attached to your clothing (like pants or button-up shirts). Instead, I’m talking about the clicky things that play an important role in our lives.
For example, it can be the comically big, red button that boasts “That was easy” whenever you press it. Other times, it can be a button on your alarm clock that either turns on the built-in light or allows you to snooze and get a few more minutes of well-deserved sleep.
The best place to play with and use buttons are for Arduino projects. Even though it may seem useless, I’ve used it many times to incorporate a more user-friendly feature in my design.
Consequently, this guide will talk all about pushbuttons, so let’s first define:
What Are Pushbuttons?
A pushbutton is simply a button with a switch mechanism that dictates what the device it’s attached to should do. Arduino users commonly see this as a cube-like component with 4 legs (see picture below).
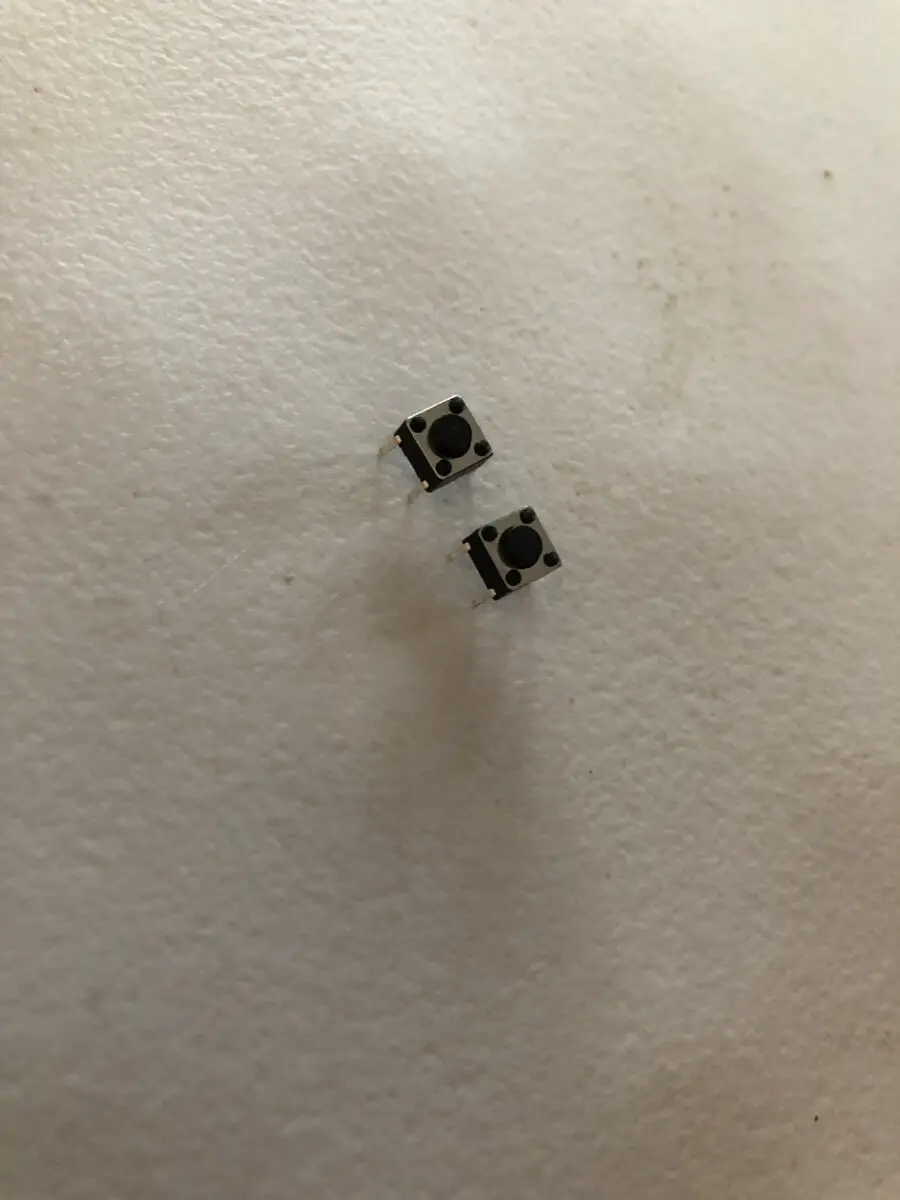
It’s great for projects that allow users to directly interact with the Arduino board. For example, I created an alarm clock that used an Arduino, and I installed two pushbuttons into my design. One changed the hour value and another one changed the minute value.
If you want to see the pushbutton being used in an actual Arduino project, check out my guide on how you can create your own Arduino alarm clock! I’ll include the necessary code, hardware design, and an explanation of how it all works.
If this concept still isn’t clear, you can think of a pushbutton as a light switch. There are only 2 states for the button to be in, just like a light switch. You probably already know this but a light switch’s two states are on (where the light is turned on) or off (where the light is turned off).
How Does Arduino Detect Button Press?
An Arduino board is able to detect a button press because when you press a button, it closes the circuit, which connects the pin to 5V (volts). Consequently, the state of the pin turns to HIGH, which lets the Arduino know that the button is pressed.
How Do Buttons In Arduino Work?
When you don’t press a button, it will be in a state of LOW. This is basically where the circuit is open and so the pushbutton is connected to ground (or 0 volts).
On the other hand, when you press the buttons, it will switch to a state of HIGH. This is basically where the circuit is closed and so the pushbutton is connected to 5V.
Do keep in mind that when you’re working with pushbuttons, you’ll need something known as a pull-up resistor. You can do this in 2 ways: program the pull-up resistor in your code or physically insert a 220-ohm resistor into your pushbutton circuit.
To program the pull-up resistor, you’ll need to the pinMode function:
pinMode(2, INPUT_PULLUP); // the number 2 is the value of the pin number on your Arduino board and it is connected to your pushbutton.Now, some of you may be wondering:
Why do pushbuttons need resistors?
Resistors are needed for pushbuttons to pull up the value of the input. Without them, you would have a floating value for the input when the button is unpressed due to high impedance. This basically means that you’ll get inconsistent, random states of LOW or HIGH because there is a small current that can pass through a certain point in your circuit.
I know I’ve be mentioning circuits a lot, so if you want to learn more about the basics of circuits, check out my simple circuit guide. Moreover, I’ll be including amazing tips for when you work on your circuits so that you can keep yourself and your Arduino board safe.
Why Do Arduino Buttons have 4 Pins?
Pushbuttons often have 4 pins to provide stability. Nevertheless, it serves the same electrical purpose as a pushbutton with 2 pins.
You can analogize pushbuttons with 4 pins to a four-legged chair. If you sit in a chair with 4 legs and move around in it, you’re less likely to tip over and fall compared to wiggling around in a chair with 2 legs. This is the same with pushbuttons: those with 2 pins may more easily tip over compared to those with 4 pins when you press it.
Is Arduino Button Analog Or Digital?
The pushbutton commonly used for Arduino projects is digital.
What digital means is that there are only two possible states for the pushbutton to be in whereas analog means that there are more than 2 different states it can be in.
Remember how I mentioned the light switch analogy from above? The light switch is also digital because you can only turn the switch to ‘on’ or ‘off’.
The two states the pushbutton can be in are open or closed. The former state means that the circuit is left open (which means that the pushbutton is not being pressed) while the latter means that the circuit is closed and complete (which means that someone is pressing down on the pushbutton).
Summary – tl;dr (Too Long; Didn’t Read)
Here’s a refresher of all the important points you should take away after reading this article:
- Pushbuttons are simple components that have two states: LOW and HIGH. This means that buttons are digital, and you can trigger them by leaving them unpressed or pressed, respectively.
- In almost every case, you’ll need to incorporate a pull-up resistor with your button to ensure the values stay consistent. You can do this by:
- Inserting a 220 ohm resistor into your breadboard that serves as a pull-up resistor to the button, or
- Programming in the resistor using the pinMode() function and setting INPUT_PULLUP as the second argument. That way, you don’t atually need to use a physical resistor.
- Pushbuttons are great for adding a user interface to your project so that users can more easily interact with your project.
Hopefully, I don’t have to push your buttons to make you see the value of pushbuttons!

