Can You Connect Multiple Sensors To Arduino? (Sensor Guide)
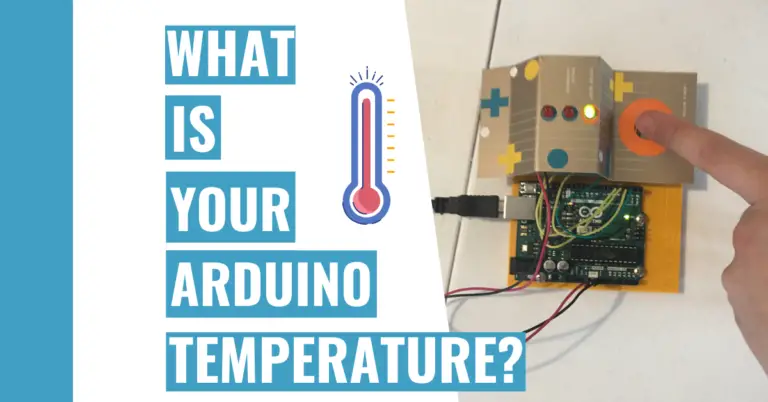
I’ve worked with a lot of sensors with my Arduino board for many different projects. For instance, I used a tilt sensor in my Crystal Ball project or even a temperature sensor for my Weather Monitor Project.
What is a sensor?
For those who don’t know, a sensor is a device or module that can detect (or sense) changes in its surrounding external environment.
Sensors are most often inputs to your device. For instance, in my Crystal Ball project, my tilt sensor would sense changes if I shook it. Then, I could use that input to do something useful like coming up with a new ominous response.
With all these cool capabilities, I am always on the hunt for different types of sensors and incorporating them into different projects. One time, when I felt ambitious, I started wondering:
Can You Connect Multiple Sensors To Arduino?
You can definitely connect multiple sensors to Arduino as long as your Arduino board has enough pins (analog or digital) to support it. For instance, if your projects need a lot of pins, you should opt for the Arduino Mega 2560 R3 since it’s like the advanced version of the Arduino Uno R3.
Here is a list of boards and the number of pins they have so that you can get an idea of which board you should get:
| BOARD | NUMBER OF PINS |
|---|---|
| UNO Rev 3 | 14 |
| Mega 2560 Rev 3 | 54 |
| Leonardo | 20 |
| Nano | 22 |
| Due | 54 |
| MKR Zero | 22 |
| Ethernet Rev 3 | 14 |
| Lilypad | 14 |
Note: This isn’t an exhaustive list so if you don’t find a particular board here, you can easily do a Google search for it.
If you want some more comparison with these boards, consider checking out my Choosing An Arduino guide. It contains great tips for helping you choose an Arduino and I compare the models from above in greater detail.
What Are The Most Useful Sensors For Arduino?
Here are some of the sensors I’ve used or in the process of using. I’ve included the cost range in addition to what it does:
- Hall effect magnetic sensors
- As the name suggests, it can sense magnetic fields. You can use it to measure power or even the rotation of a wheel.
- Price Range: $2 – $40
- As the name suggests, it can sense magnetic fields. You can use it to measure power or even the rotation of a wheel.
- Air pressure sensor
- This sensor can detect changes in air pressure and is similar to a barometer.
- Price Range: $15 – $35
- This sensor can detect changes in air pressure and is similar to a barometer.
- Air flow sensor
- This can keep track of how fast the air is flowing through a sensor. A useful application of this is for detecting or measuring the speed of something like a car.
- Price Range: $70 – $100
- This can keep track of how fast the air is flowing through a sensor. A useful application of this is for detecting or measuring the speed of something like a car.
- Tilt sensor
- This is very useful for keeping track of the stability of something.
- I’ve used this sensor before because it came in my Official Arduino Starter kit. For example, I built an Arduino Crystal Ball that displayed a new ominous message each time I tilted the board or shook it.
- Price Range: $2 – $100
- Carbon dioxide sensor
- This is useful for measuring the amount of carbon dioxide (CO2) in the air. For example, you would use this if you want to know how good the air quality is.
- Price Range: $70 – $100
- This is useful for measuring the amount of carbon dioxide (CO2) in the air. For example, you would use this if you want to know how good the air quality is.
- Touch sensor
- This sensor can sense your touch similar to how your phone or tablet would react whenever you touch their screen.
- From my experience, you don’t need to apply a lot of pressure in order for the touch sensor to react and detect your presence.
- Price Range: $5 – $15
- Sound sensor
- This sensor can detect whether or not there is sound or even how loud the sound is. This is similar to how a microphone senses your voice and projects it (but the sound sensor won’t actually project your voice). You
- Price Range: $5 – $20
- This sensor can detect whether or not there is sound or even how loud the sound is. This is similar to how a microphone senses your voice and projects it (but the sound sensor won’t actually project your voice). You
Of course, this isn’t an exhaustive list, so don’t expect to see every sensor mentioned. There are many other sensors that can be used with Arduino for different applications that you can look up and find depending on what you want to measure.
What Do You Do With The Data From The Sensor?
After you’ve used one or more sensor in your projects, you can then proceed to store it.
You can store the data that Arduino collects in one of two ways: saving it on an SD (secure digital) card or copying the stuff you get in your serial monitor and pasting it in a text file (or any other place where you can keep it safe).
To use an SD card, you’ll need an Arduino board with an SD card slot built in, such as a Arduino Yun Rev 2 or the MKR Zero. However, not all Arduino boards come with an SD card built in, so you’ll have to buy an SD card shield or module to add this feature. After that, you could also upload your data to the cloud to be analyzed later.
If you don’t have any idea which to choose
You may be wondering: why would you want to store data?
By storing data, you can analyze it and try to find any trends or strange behaviors. Even better, you can sell the data to companies that want it if it is valuable enough.
Summary/tl;dr (Too Long; Didn’t Read)
Here are some of the key takeaway points you should remember after reading this article:
- A sensor is a device that can detect changes in the environment.
- You can connect multiple sensors to your Arduino as long as your board has enough pins to support it.
- If you really want a lot of pins or don’t want to constantly worry whether or not you have enough pins, you should definitely check out the Arduino Mega 2560 R3 since it has the most pins out of the entire Arduino family.
- Some useful sensors may be:
- Magnetic sensors
- Temperature sensors
- Tilt sensors
- Air pressure sensors
- Air flow sensors
- Touch sensors
- Sound sensors
- After you use a sensor and get inputs, you should store the data so that you can analyze it in the future or sell it if it is valuable enough and if there is a demand for it.
I hope that after reading this article, you now have a good sense of what sensors do and how you can utilize it for your own projects.