Can Arduino Run On 12 Volts? (Arduino Power Source Guide)
For many beginners, including me when I first began, we didn’t give a second thought about the amount of volts we needed to supply to our Arduino. For us, it was as simple as grabbing a USB cable, connecting one end to the Arduino’s USB port, and the other end to our computer’s USB port.
It was a great 2 for 1 deal: we could upload our sketches to the board in addition to powering it. Now that some people have graduated from solely relying on the USB cable, they may be wondering:
“Can Arduino run on 12 volts?”
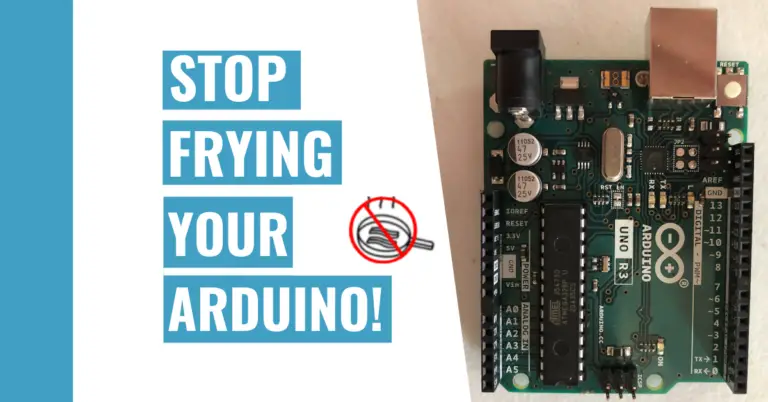
The Arduino can definitely run on 12 volts. However, you’ll need to supply the power through the Vin (voltage in) pin on the Arduino board instead of the 5V pin. This is necessary to prevent your Arduino board from overheating and getting fried.
The rest of this article will focus on why there are restrictions and the maximum and minimum voltage the Arduino can use in order to function properly and without any damages.
What’s The Maximum Voltage Arduino Can Take?
The maximum voltage an Arduino can take is 20V according to the Arduino company themselves. However, I would recommend the maximum voltage to be 12V based on my personal experience and other Arduino user’s advice.
You should definitely not go above 20V. That’s similar to pouring water and overfilling, which causes the excess water to spill out from the top.
Still, there are some instances where a large power supply can be justified. For instance, if you use a DC (direct current) motor, you’ll need to use additional volts. Without these extra volts, the DC motor will steal volts from your Arduino, causing it to auto-reset because its power supply isn’t consistent.

Typically, you can supply your DC motor with 9V. You can do so by connecting a 9V battery to a battery snap and inserting it into the breadboard.
I’ve written a great article on alternate power sources you can use besides plugging your Arduino into your computer via the USB (Universal Serial Bus) cable. If you want to learn the in’s and out’s of these sources (like the 9V battery I’ve mentioned), go check out my Arduino alternate power source guide.
You can go over 9V, but you should understand that if you apply twice as much power than a DC motor usually takes, it will spin 2 times faster and use twice as much current. That may seem like a good thing, but doing so can cause damage to your motor, such as overheating, damage to the bearing, etc.
What’s The Minimum Voltage Arduino Can Take?
The minimum voltage you can apply to your Arduino is 6V. Anything less than that would result in your Arduino not functioning properly and auto-resetting. Still, the 6V may not be enough when it’s being converted through the voltage regulator, so I’d also recommend you to supply your Arduino with at least 9V.
Why Does The Arduino Have These Restrictions?
All Arduinos work best with 5V as long as the 5 volts are regulated and consistent. Consequently, many recommend you using anywhere from 9 to 12 volts to power your Arduino board because this range guarantees that your board gets at least 5V. The other remaining volts will be dissipated.
You may be wondering: “How do the volts other than the 5 volts get dissipated or reduced down?”
The answer is quite simple: a voltage regulator is built directly into the Arduino board. That means if you input more than 5V, the regulator converts the total amount that’s greater than 5V to 5V for the board to use.
However, if you go above the 12V, the voltage regulator cannot convert that many volts to 5V, so it will result in damaging your board. For instance, your board can overheat from the excess volts or get fried.
Moreover, if you input volts less than 5V, then your Arduino wouldn’t work properly. That’s because it’s not receiving enough energy to work. You can think of volts as food. If you don’t eat enough food, you won’t have enough energy to run a marathon. That’s what’s happening to your Arduino. It can’t run the marathon because you didn’t supply it with enough food (or volts).
In addition, your Arduino will auto-reset. Some of you may wonder, “What is an auto-reset?”
An auto-reset is basically where your Arduino automatically restarts the sketch it’s running. This means that your Arduino will start running your code from the 1 line. This can be annoying, especially when it’s in the middle of running a successful project.
Most often, an auto-reset occurs because of power changes or inconsistent power sources. That means if you don’t want your Arduino to keep automatically resetting, you’ll need to stay within the recommended 9 to 12V.
If you want to learn more about auto-reset and how you can prevent it from happening to your projects, you should definitely go read my auto-reset guide!
Summary – tl;dr (Too Long; Didn’t Read)
After reading this article, I’ve gathered the essential pieces of information that you’ll need to remember or keep in mind in the future so that you can succeed with all your Arduino projects and endeavors:
- The maximum volt you can apply to your Arduino is 20V (as recommended by the official Arduino company).
- The minimum volt you can apply to your Arduino is 6V (as recommend by the official Arduino company).
- Still, from what I’ve seen and gathered from other user’s experience, you should stay between the 9 to 12V range.
- This gives you the optimal conditions for your Arduino to work.
- That means your Arduino is less likely to get fried or overheated due to the excess volts.
- That also means your Arduino is less likely to not receive enough power and auto-reset due to the lack of volts.
- Because your Arduino only uses 5V, the excess volts you might supply goes through the voltage regulator, which converts it down to 5V. Still, the voltage regulator has a limit, so you shouldn’t exceed that.
Now that you have all the information joule (you’ll) ever need, I hope you’re amp-ed up to continue your Arduino adventure!


