Best Guide To Arduino Memory (Plus Memory Optimization Tips)
The Arduino’s memory is similar to a human’s memory: they are both capable of remembering and recalling information, and they both have a limit. However, humans can store a lot more information than the Arduino’s memory, so this guide will dive into the potential problems you may face when you push the Arduino’s memory over its limits.
I’ll also be including the amount of memory found in 12 different popular Arduino boards, go over how you can check how much memory is on your Arduino board, and discuss the 6 most useful memory optimization tricks.
But first, let’s start by establishing the different types of memory used in Arduino:
Types of Memory
All Arduino boards have 3 different types of memory: flash memory, static random access memory (SRAM for short), and EEPROM (which stands for Electrically Erasable Programmable Read-Only Memory).
The flash memory and EEPROM can still retain information even after the Arduino board is powered off (in other words, they’re non-volatile).
The SRAM is the opposite, which means that it will lose the information once the Arduino board is powered off (in other words, it’s volatile).
Flash Memory
The flash memory is a program space that stores your Arduino sketch.
SRAM
The SRAM is where variables are created and changed by the Arduino sketch when it runs.
EEPROM
The EEPROM is for programmers to store long-term information in the memory space.
You can use this memory by employing the EEPROM library.
How To Check How Much Memory Is On Your Arduino Board
Flash Memory
Checking how much flash memory you’ve used is quite simple. All you’ve got to do is upload your code to your Arduino and check the console in the Arduino IDE (Integrated Development Environment).
If you want to learn more about the Arduino IDE and my secret tips on how you can use it to your advantage, then you should check out my guide on the Arduino IDE.
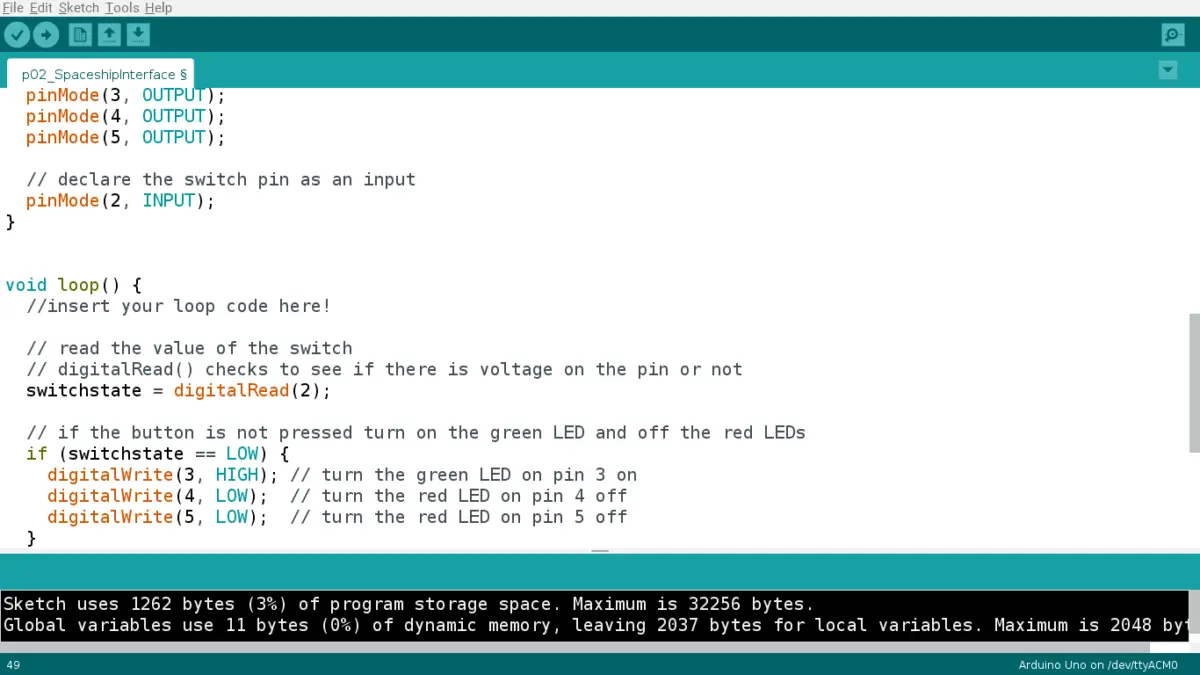
This is an example of what it looks like (after you’ve uploaded your code):
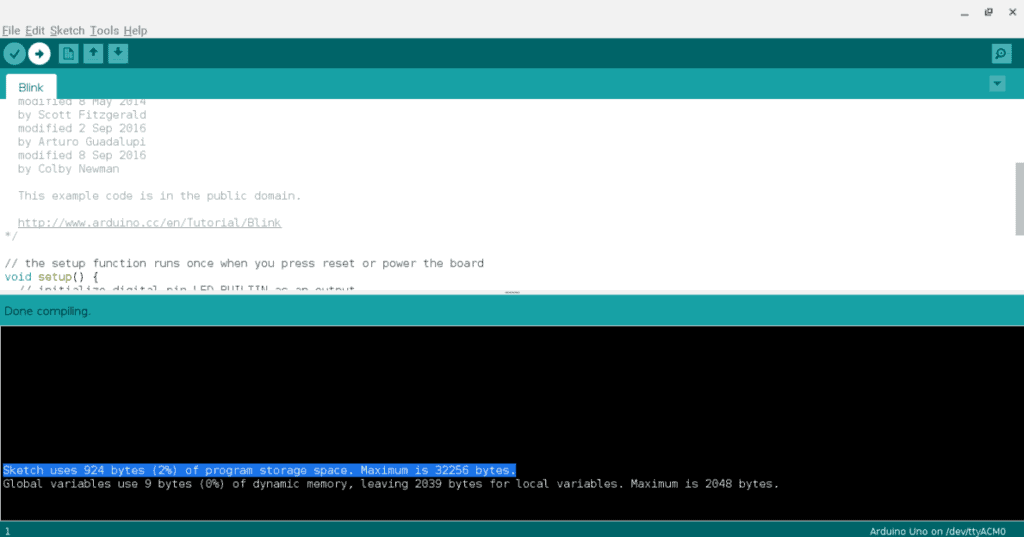
Notice the highlighted blue line that states “Sketch uses 924 bytes (2%) of program storage space. Maximum is 32256 bytes”.
This is great because it tells you how much flash memory you’ve used (which is 924 bytes and it is 2% of the total number of bytes) and the total amount of flash memory you have (which is 32256 bytes or 32 kilobytes).
SRAM
To check the SRAM, we have to use the function “freeMemory();”. To implement it, use the following code and read and follow the comments:
#ifdef __arm__
// should use uinstd.h to define sbrk but Due causes a conflict
extern "C" char* sbrk(int incr);
#else  // __ARM__
extern char *__brkval;
#endif  // __arm__

int freeMemory() {
 char top;
#ifdef __arm__
 return &top - reinterpret_cast<char*>(sbrk(0));
#elif defined(CORE_TEENSY) || (ARDUINO > 103 && ARDUINO != 151)
 return &top - __brkval;
#else  // __arm__
 return __brkval ? &top - __brkval : &top - __malloc_heap_start;
#endif  // __arm__
}
EEPROM
To check the EEPROM, just insert the following code and replace the word “address” with the address that is being used for your Arduino:
// Write data to a given address
#include <EEPROM.h>
EEPROM.write(address, value);
EEPROM.read(address);
The Memory of Different Types of Arduino Board
Let’s take a look at the following table to find out how much of the different types of memory Arduino boards have:
| BOARD | FLASH (KB) | SRAM (KB) | EEPROM (KB) |
|---|---|---|---|
| UNO R3 | 32 | 2 | 1 |
| Mega 2560 | 256 | 8 | 4 |
| Leonardo | 32 | 2.5 | 1 |
| Micro | 32 | 2.5 | 1 |
| Nano | 32 | 2 | 1 |
| Due | 512 | 96 | 0 |
| MKR WiFi 1010 | 256 | 32 | 0 |
| UNO WiFi Rev 2 | 48 | 6 | 0.25 |
| Zero | 256 | 32 | 0 |
| Yun | 32 | 2.5 | 1 |
| Ethernet | 32 | 2 | 1 |
| Nano Every | 48 | 6 | 0.256 |
In this neat table containing 12 different common Arduino boards, the Arduino Due has the most kilobytes of flash memory and SRAM. The Arduino board with the largest EEPROM is the Arduino Mega 2560.
Regardless, the Arduino Uno Rev 3 ( which has 32 kb of flash memory, 2 kb of SRAM, and 1 kb of EEPROM) should suffice many Arduino users, especially beginners.
It’s very common for an Arduino board to have around 32 kb of flash memory, 2 kb of SRAM, and 1 kb of EEPROM. The mode of the 12 different boards includes 3 boards with 32 kb of flash memory, 2 kb of SRAM, and 1 kb of EEPROM, and 3 other boards with 32 kb of flash memory, 2.5 kb of SRAM, and 1 kb of EEPROM.
Common Arduino Memory Problems and Solutions
If you encounter memory problems when working with the Arduino, it’s usually due to these three factors: you’ve run out of flash memory, SRAM, or EEPROM.
If you run out of flash memory …
The IDE itself will warn you in the console (which is the bottom black portion of the screen) when you’re verifying and trying to upload your code. This is because you can’t upload a program that uses up more than the Arduino’s maximum flash memory.
A proper solution to avoid this problem is to cut down on your code. Trim any excess fat that you don’t need, and try to simplify sections of code. Utilize optimization techniques such as implementing smaller variable data types or choosing local variables over global ones. For more optimization tips, see the next section.
If you run out of SRAM …
You will get an assortment of bizarre results. For instance, your Arduino may run strangely or appear to run even though it’s not.
Again, you can resolve this issue by utilizing optimization techniques (mentioned below) such as using the PROGMEM keyword or reducing the load on the Arduino by moving all the calculations and data to a program on your computer (if your sketch is working with the computer).
Your Arduino will also reset if you improperly call your functions. What I mean is that when you try to call a function within itself without giving it an exit condition, your Arduino will most likely start over. The solution is making sure you have a proper exit condition established (just like you would in a loop or else it would run forever).
One last thing you should avoid using is strings. String operations and text processing use up a lot of memory.
If you run out of EEPROM …
Your sketch will simply replace the stored data with the new data you’re uploading. This isn’t much of a concern unless the previously stored data is somehow important. Then, you would need an external flash memory (like an SD card or an Arduino MKR shield) to store the valuable data.
In the end, my general advice is to check the table from above. Compare your Arduino board type to see its maximum flash memory, SRAM, or EEPROM. Then, try to stay under those numbers.
Tips For Optimizing Your Arduino’s Memory
If you want to see more memory optimization tips, I have 6 more different tips in my follow-up guide on memory: “How Do You Add Memory To Arduino? (Plus More Memory Hacks)”. It is a must-read because I also include different ways to add more memory to your board.
- Use local variables rather than global variables if you can.
- Local variables can only be used in the function they’re declared in. Global variables are declared outside of any functions, so they have a global scope. That means any function following it can call and use it.
- Consequently, if you only need the variable for one or two specific function, just create the variable inside the functions to save memory.
- Use the PROGMEM keyword if you don’t need to change strings or data in your sketch while it’s running.
- Using this keyword let’s you store the strings and/or data in the flash memory rather than the SRAM.
- Implement loops, recursion, and functions.
- Though loops require some thinking, it will save a lot of time on your end and requires less memory.
- Moreover, creating functions allows you to recall those functions whenever you need them. This saves memory because the Arduino doesn’t have to recreate variables and other pieces of code. Instead, it can load the code again from where it was created in the memory.
- Don’t use dynamic heap allocations.
- Dynamic heap allocation is when you try assigning memory space as your Arduino is running the sketch. This is a bad idea because you don’t know exactly how much memory you need to assign.
- In most cases, you would overestimate your memory usage (which wastes valuable memory) or underestimate it (which doesn’t allow your program to run properly).
- Avoid using the malloc() function since it allocates your memory. However, if you find yourself really needing to use it, I would recommend also including the free() function.
- Implement defined constants.
- Defined constants don’t take up any memory, but the clear problem in using it is that it doesn’t specify a data type.
- See the following code as an example:
// instead of this:

const num1 = 21;

// use this:

#define num1 21

// NOTE: The syntax for a defined constant is this:
// #define constantName value- Choose the data type that’s small enough to store all the values you need.
- For example, if you’re only using the number 7 (for initializing pin 7 on the Arduino board), use a byte because it’s the smallest possible data type to hold that number.
- See the following table to determine the right data type for you
| Data Type | Bit | Range of Numbers |
|---|---|---|
| bool | 8 | 0 or 1 |
| byte | 8 | 0 to 255 |
| char | 8 | -128 to 127 |
| unsigned char | 8 | 0 to 255 |
| word | 16 | 0 to 65,535 |
| unsigned int | 16 | 0 to 65,535 |
| int | 16 | -32,768 to 32,767 |
| unsigned long | 32 | 0 to 4,294,967,295 |
| long | 32 | -2,147,483,648 to 2,147,483,647 |
| float | 32 | -3.4028235E38 to 3.4028235E38 |
This table is arranged from the data type with the smallest number of bits and range of numbers to the data type with the largest number of bits and range of numbers.
In this case, bool is the smallest data type while float is the largest data type.
Do note that even though unsigned char appears to have the same range and number of bits as byte, you should pick byte over unsigned char because byte is more clear and concise for the compiler. Plus, byte is faster and easier for users to type than unsigned char.
If you somehow need a larger number range that doesn’t include the negative numbers, then you need to add the word “unsigned” before you type the data type. Because “unsigned” doesn’t include negative numbers, the range starts from 0 and ends with a much larger number than if you didn’t use “unsigned”.
For instance, “char” has a range from -128 to 127 while “unsigned char” has a range from 0 to 255. Regardless of the range, both “char”s can only contain 255 numbers.
If the number you’re using is greater than the maximum number, it loops around and starts from the beginning. Basically, if you are using “unsigned char” and you input the number 256, it will go back to 0 and starts incrementing from there if you input any number greater than 256 because the max number “unsigned char” can store is 255.
What is signed and unsigned?
When you use signed, you’re basically telling the data type to accept both positive and negative numbers. When you use unsigned, you’re only accepting positive numbers.
Summary – tl;dr (Too Long; Didn’t Read)
Here are the key takeaway points you should keep in mind after reading this article:
- All Arduinos have 3 types of memory: EEPROM, SRAM, and flash memory
- If you run out of memory, then you’ll need to optimize your code or cut out code you don’t need. Here are some other tips for memory optimization:
- Use local variables
- Use the PROGREM keyword
- Implement loops, recursion, and functions to reuse code
- Don’t use dynamic heap allocations
- Implement defined constant
- Choose a data type that’s small enough for your needs
In the end, I hope these summarized tips helped jog your memory of the key features of Arduino memory!
References
I used these sources for information in order to ensure I deliver the best, most accurate, and most relevant information to you: