Arduino Project #2 – Temperature Controlled Fan
A temperature-controlled fan was the project I always wanted to make. I’ve always dreamed of having someone turning the fan on for me when it’s hot out, but I can’t afford to hire a person to do that.
Later, when I got into Arduino, I realized that I could build a fan that would turn on based on the temperature in the environment. Admittedly, this design is a little crude and not as visually appealing as other designs or products. However, it gets the job done, and it cools me off at the right moments.
I just have to remember not to get my hands too close to the fan itself since there’s nothing protecting me from it besides common sense.
Anyways, let’s get into the build!
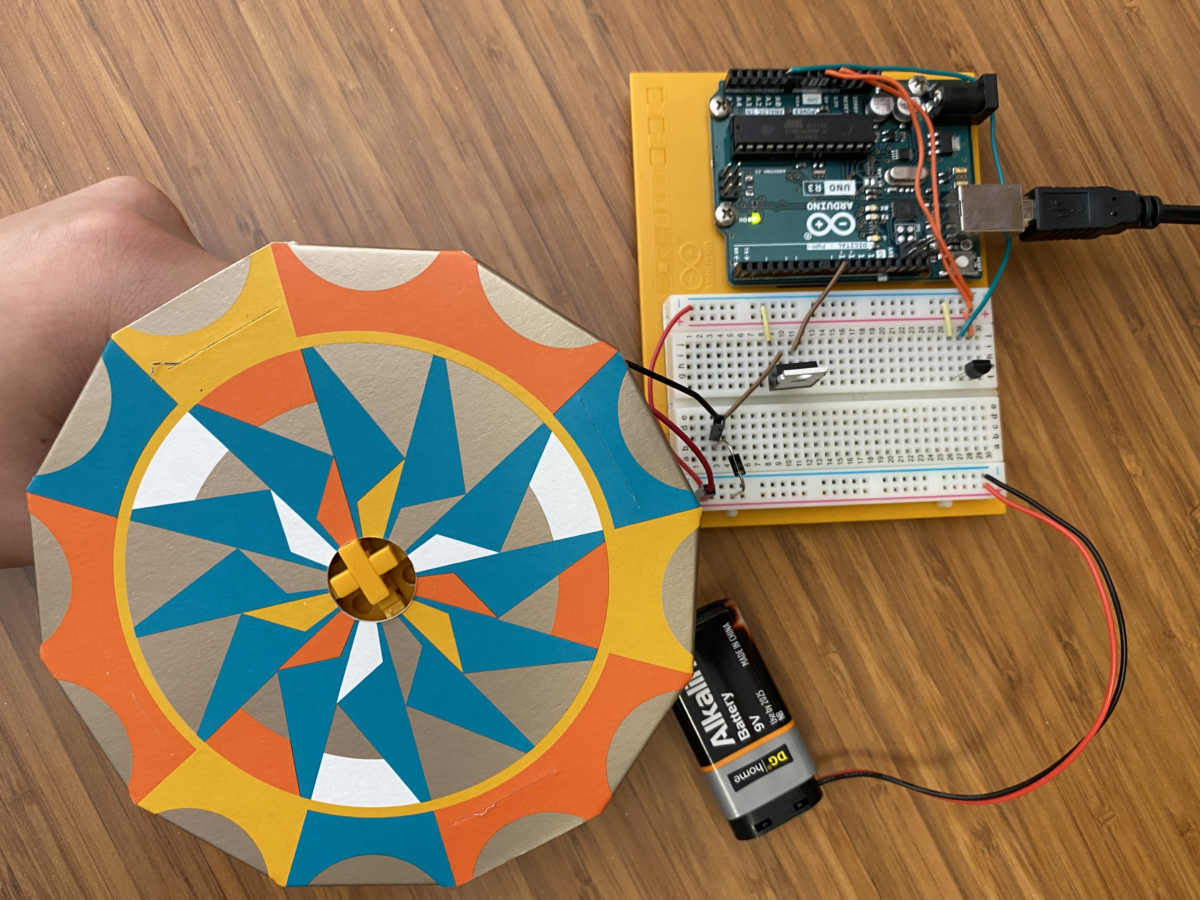
Components and Supplies
In case you don’t want to pay around $100 (at the time of writing) for the Arduino kit, here are the components I used. You can find them in component shops like Adafruit or Sparkfun.
| Components | Amount |
|---|---|
| Arduino Uno Rev 3 | 1 |
| Breadboard | 1 |
| USB cable | 1 |
| Computer | 1 |
| Battery snap | 1 |
| 9V battery | 1 |
| DC motor | 1 |
| Temperature sensor | 1 |
| Diode | 1 |
| Cardboard cutout (or origami fan for the DC motor) | 1 |
| Transistor | 1 |
| Jumper wires | (at least) 9 |
How To Build Temperature Controlled Fan With Arduino
Necessary Software
The only software you need is the Arduino IDE (integrated development environment). This is so that you can upload the temperature-controlled fan code to your Arduino board.
Temperature Controlled Fan Code
/*
Temperature Controlled Fan Project
Author: Bowen Zheng
Date: 8/21/21
License: Public Domain
thanks to: Arduino (the company)
Necessary Components
- 1 Transistor
- 9 Jumper Wires (at least since it depends on how you wire your board)
- 1 DC (direct current) motor
- 1 9V (volt) battery
- 1 Battery snap
- 1 Diode
- 1 USB (Universal Serial Bus) cable
- 1 Laptop/Computer (to upload the following code)
- 1 Breadboard
- 1 Temperature sensor
- 1 Cardboard cutout/origami of a fan blades
- (Optional) Glue or tape to hold fan blades to DC motor
*/
const int sensorPin = A0; // this initializes the analog pin that's connected to the middle leg of the temperature sensor
const int motorPin = 9; // this is the pin on the Arduino board that's connected to the motor
const int setTemperature = 75; // this is the loweest temperature at which the motor will start spinning at
void setup() {
// put your setup code here, to run once:
Serial.begin(9600);
pinMode(motorPin, OUTPUT); // this initializes the motor so that I can make it turn
}
void loop() {
// put your main code here, to run repeatedly:
int sensorValue = analogRead(sensorPin);
// convert the ADC reading to voltage
float voltage = (sensorValue / 1024.0) * 5.0;
// convert the voltage to temperature in Celsius degrees
float temperatureCelsius = (voltage - .5) * 100;
Serial.print("Celsius Temperature:");
Serial.print(temperatureCelsius);
// convert the celsius temperature to fahrenheit
float temperatureFahrenheit = (temperatureCelsius * 9.0 / 5.0) + 32;
Serial.print("; Fahrenheit Temperature:");
Serial.println(temperatureFahrenheit);
// this is the algorithm for turning on the motor if the temperature is above a certain degree
if (temperatureFahrenheit >= setTemperature) {
digitalWrite(motorPin, HIGH); // this turns on the motor if the temperature is above the setTemperature
}
else {
digitalWrite(motorPin, LOW); // this turns off the motor if the temperature is not above the setTemperature
}
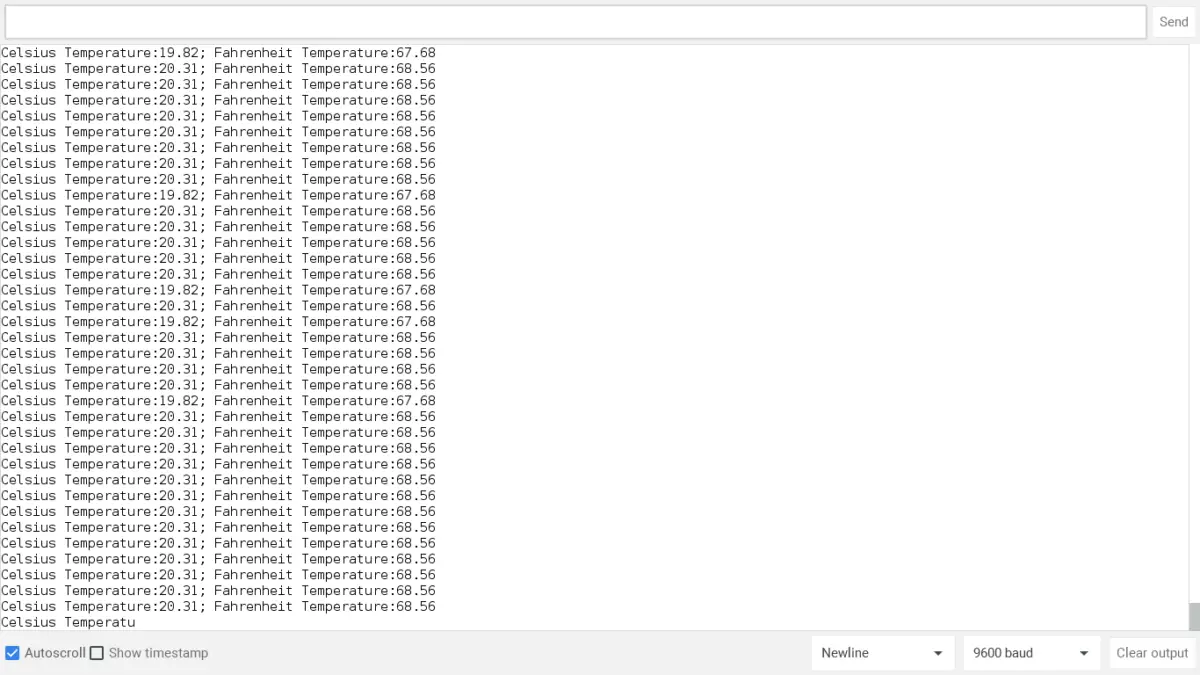
}After you’ve copied and pasted your code in your IDE and uploaded the sketch to your board, you should go to your serial monitor. You should then see the temperature in Celsius and Fahrenheit (like in the image below).
Temperature Controlled Fan Overview (What It Does)
The whole purpose of (and the idea behind) this design is to have a fan automatically turn on once a certain temperature is reached. That way you can cool off without having to actually turn on the fan. You might need to adjust the fan to direct its wind towards your face since the motor will move sporadically when turned on.
If you want to maximize efficiency, here is a video you should watch to determine how you can create your own fan blade design to do just that.
In the end, I hope you’re a big fan of my project!
If you want to learn how to create cool projects like this, check out my Arduino prototyping guide to walk you through the prototyping process step-by-step!